
Setting Up the Outdoor Sensor
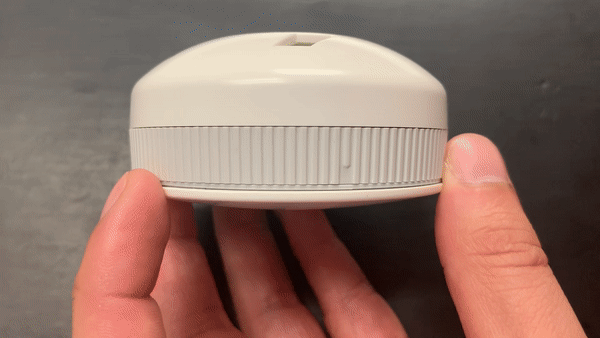
The first step in the setup process is to unscrew the mounting bracket of the Outdoor sensor from the battery casing.
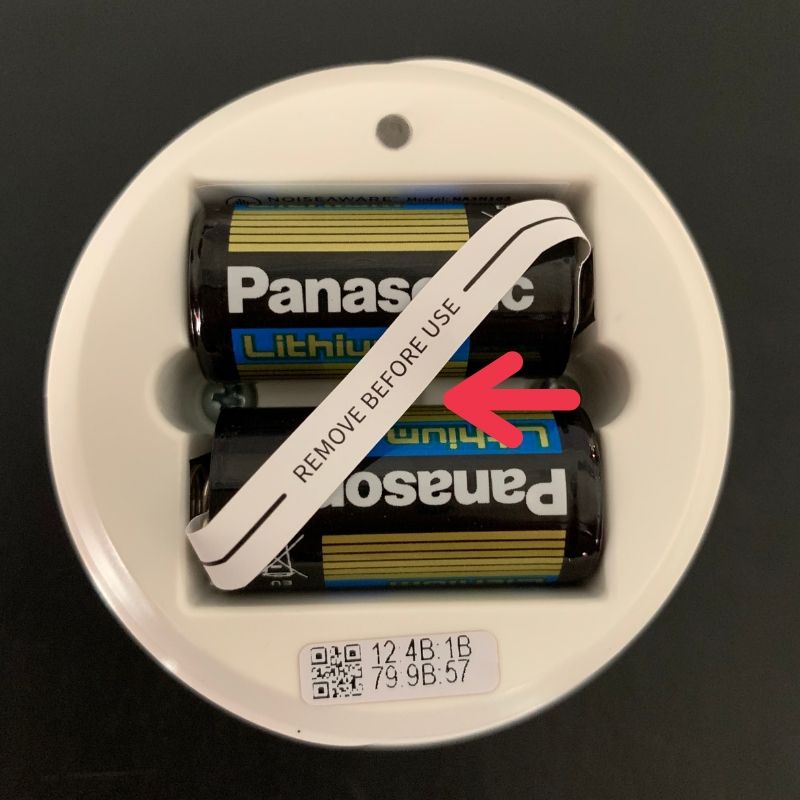
Once you have separated the two, remove the battery tab reading Remove Before Use along with both batteries.
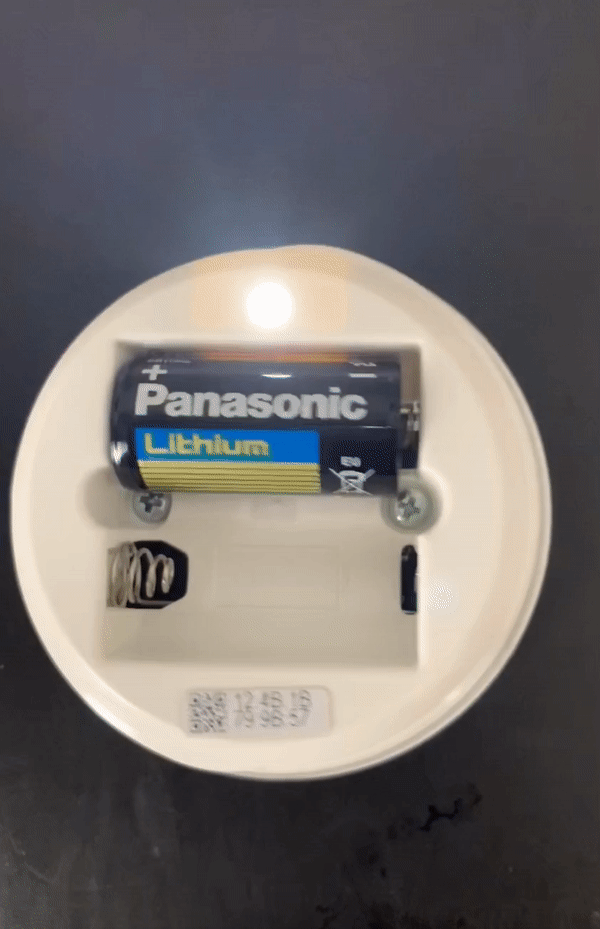
Plug in one battery and make sure the LED light flashes three times after one battery is fully inserted.
When you have confirmed the LED light flashed, insert the second battery and wait 5 minutes before attempting to configure your outdoor sensor through the app. This 5 minute timeframe will make the in-app setup a seamless process.
Begin by logging into the NoiseAware app and tapping the Settings 'gear' at the top right corner of your screen
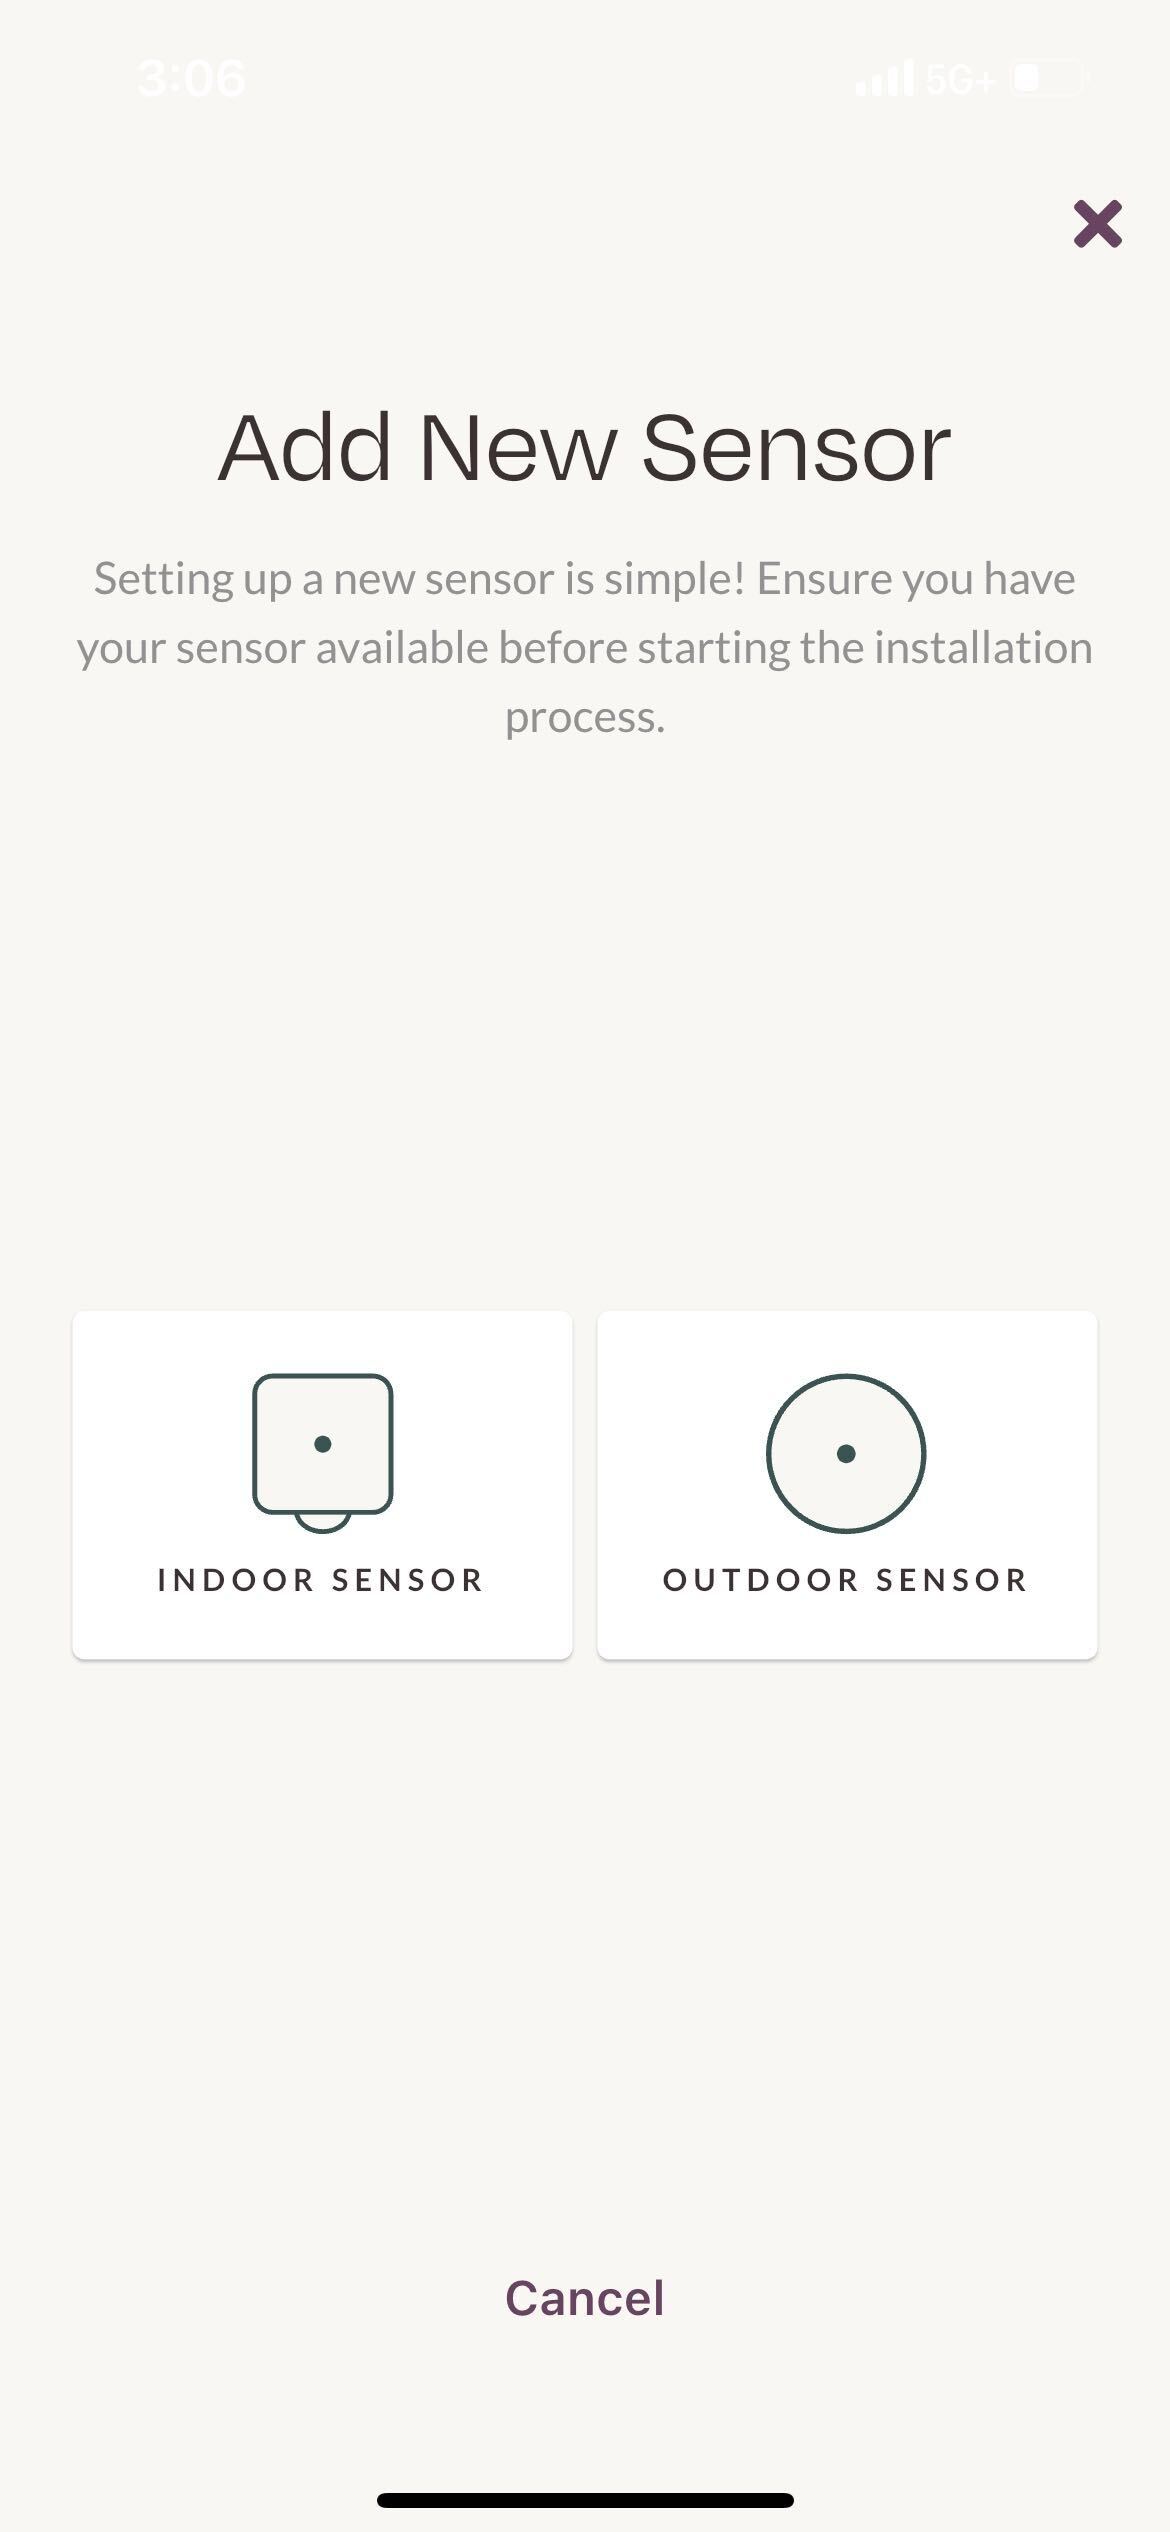
Select Add new sensor from the right side menu, your indoor sensor should already be installed at this time. If you have not yet installed an indoor sensor, please do that before setting up your outdoor sensor.
Select Outdoor sensor
When you remove the batteries and put them back in, make sure you see the flashing light. If you do not, you will need to replace the batteries before you can install the sensor.
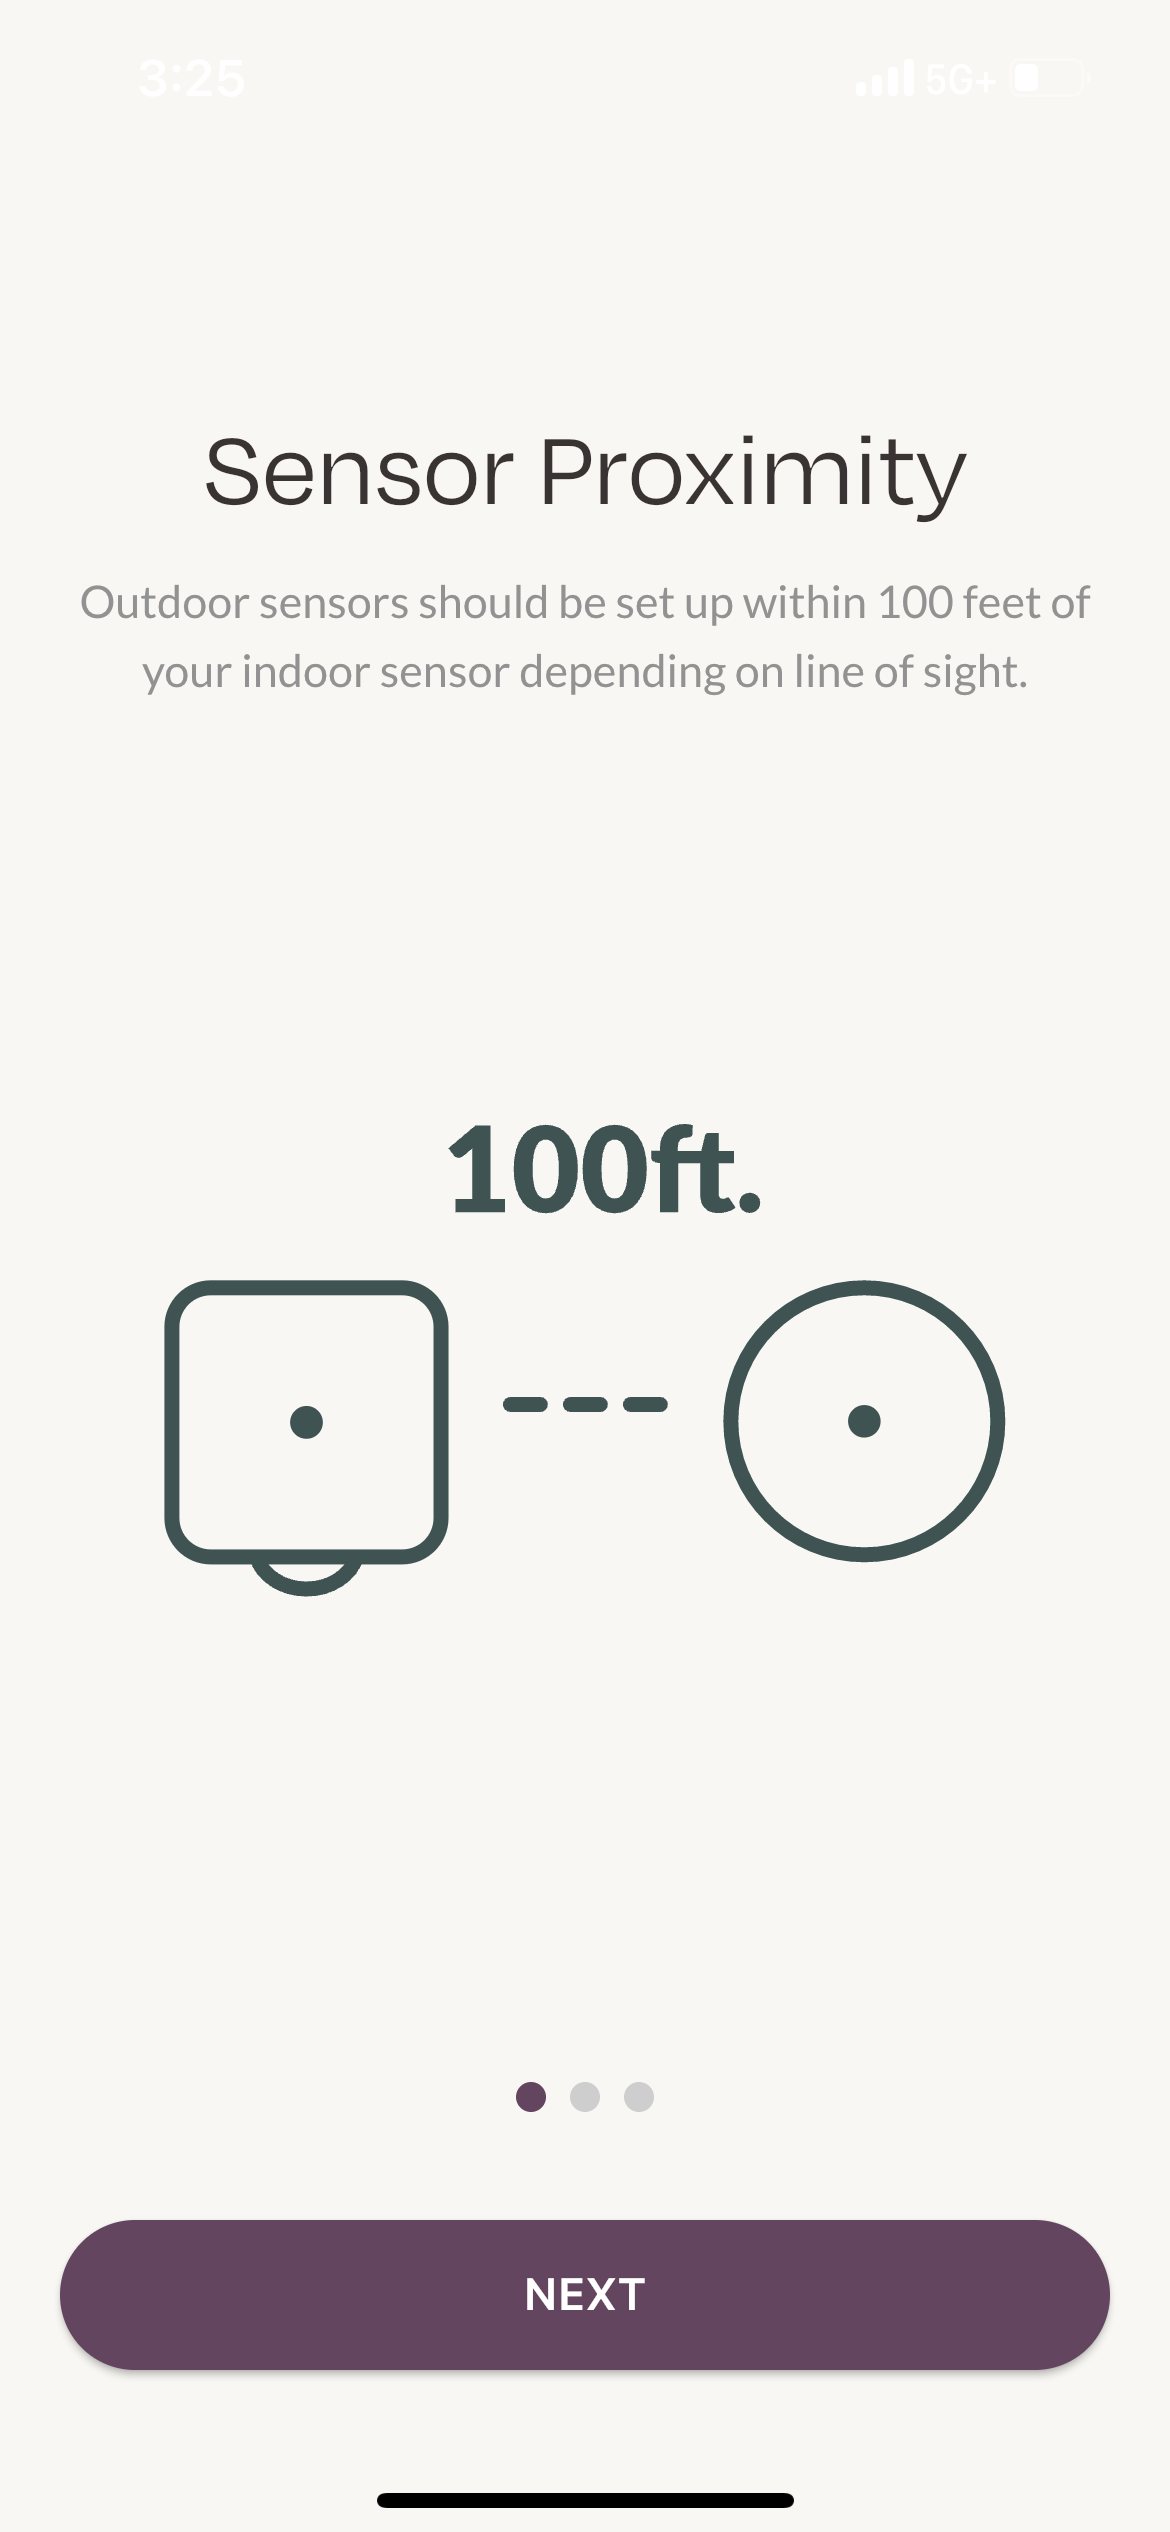
Once you press next, your outdoor sensor will work to connect with your indoor sensor. Make sure the indoor and outdoor sensors are within 100 feet of each other, and work to set the sensor up in a location with the best line of sight possible to the indoor sensor.

Confirm the MAC address on the back of your Outdoor Sensor (also listed on the piece of paper included in your outdoor sensor box) matches the MAC address displayed in the mobile app.
Once your sensor is detected and connected to the indoor sensor, you will see the screen above. Make sure that the MAC address matches the address listed below the batteries on the sensor as well as the inside of the box the outdoor sensor came with
Your sensor is now online. As you complete setup, take a picture of your mounted outdoor sensor from roughly 15 feet away to portray the environment the sensor is in. This picture will be used by our Support Team if you were to call in with questions about your outdoor sensor.
Please install your outdoor sensor within 100 feet of your indoor sensor. Make sure the sensor is mounted within 10-20 feet of the main activity zone you are looking to monitor outside with the microphone hole (located on the front of the sensor) facing towards that area.
Please avoid placing your outdoor sensor near noise-makers such as AC units, hot tubs, bushes, etc.
Your Outdoor Sensor setup is now complete.