How do I mount my outdoor sensor?
Mounting with double-sided tape
Once you have selected a good place to put the sensor, its now time to get it mounted. The easiest option for mounting is to use our mounting tape supplied in the box. Please make sure the area is completely dry before you attempt to mount the sensor with mounting tape.
The mounting tape works best in dryer climates, and may need to be replaced more often in humid climates. To attach the double sided tape, start by peeling off the top layer like this:
Then stick the sticky side to your sensor like this:

Peel off the last piece of paper right before you are about to mount your sensor. Once you press your sensor into the surface, press down and hold it for about 10 seconds. This will make sure its really STUCK ON. 
Mounting the sensor with a screw
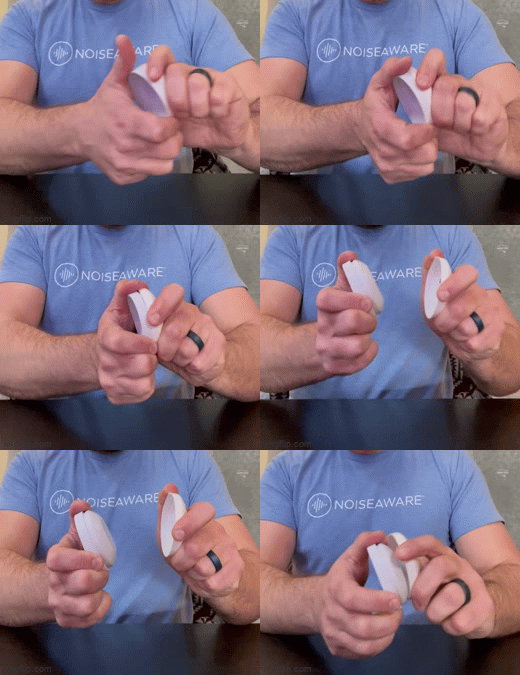
The exact type of screw will depend on the surface you are mounting to. There are different screws for wood, drywall, concrete and stucco. Screwing can be a little more complicated depending on the type of surface you are screwing the sensor to. The first step will be separating your sensor in to 3 pieces. To do this, you first remove the battery housing from the two other pieces of plastic.

Then you separate the grey and white plastic pieces by "popping" them apart like this (PRO TIP: Really squeeze the grey piece):

If you are having trouble popping off the lower piece, you can use a flat head screwdriver or other hard object to pry them apart. The plastic may dent slightly, but it will not break.
You can then mount the mounting bracket (the bottom piece) by putting a screw through the center hole like this:

