Setup your indoor sensor
Open the NoiseAware app from your phone.
From the main screen of the NoiseAware app, press the 'gear icon in the top right corner
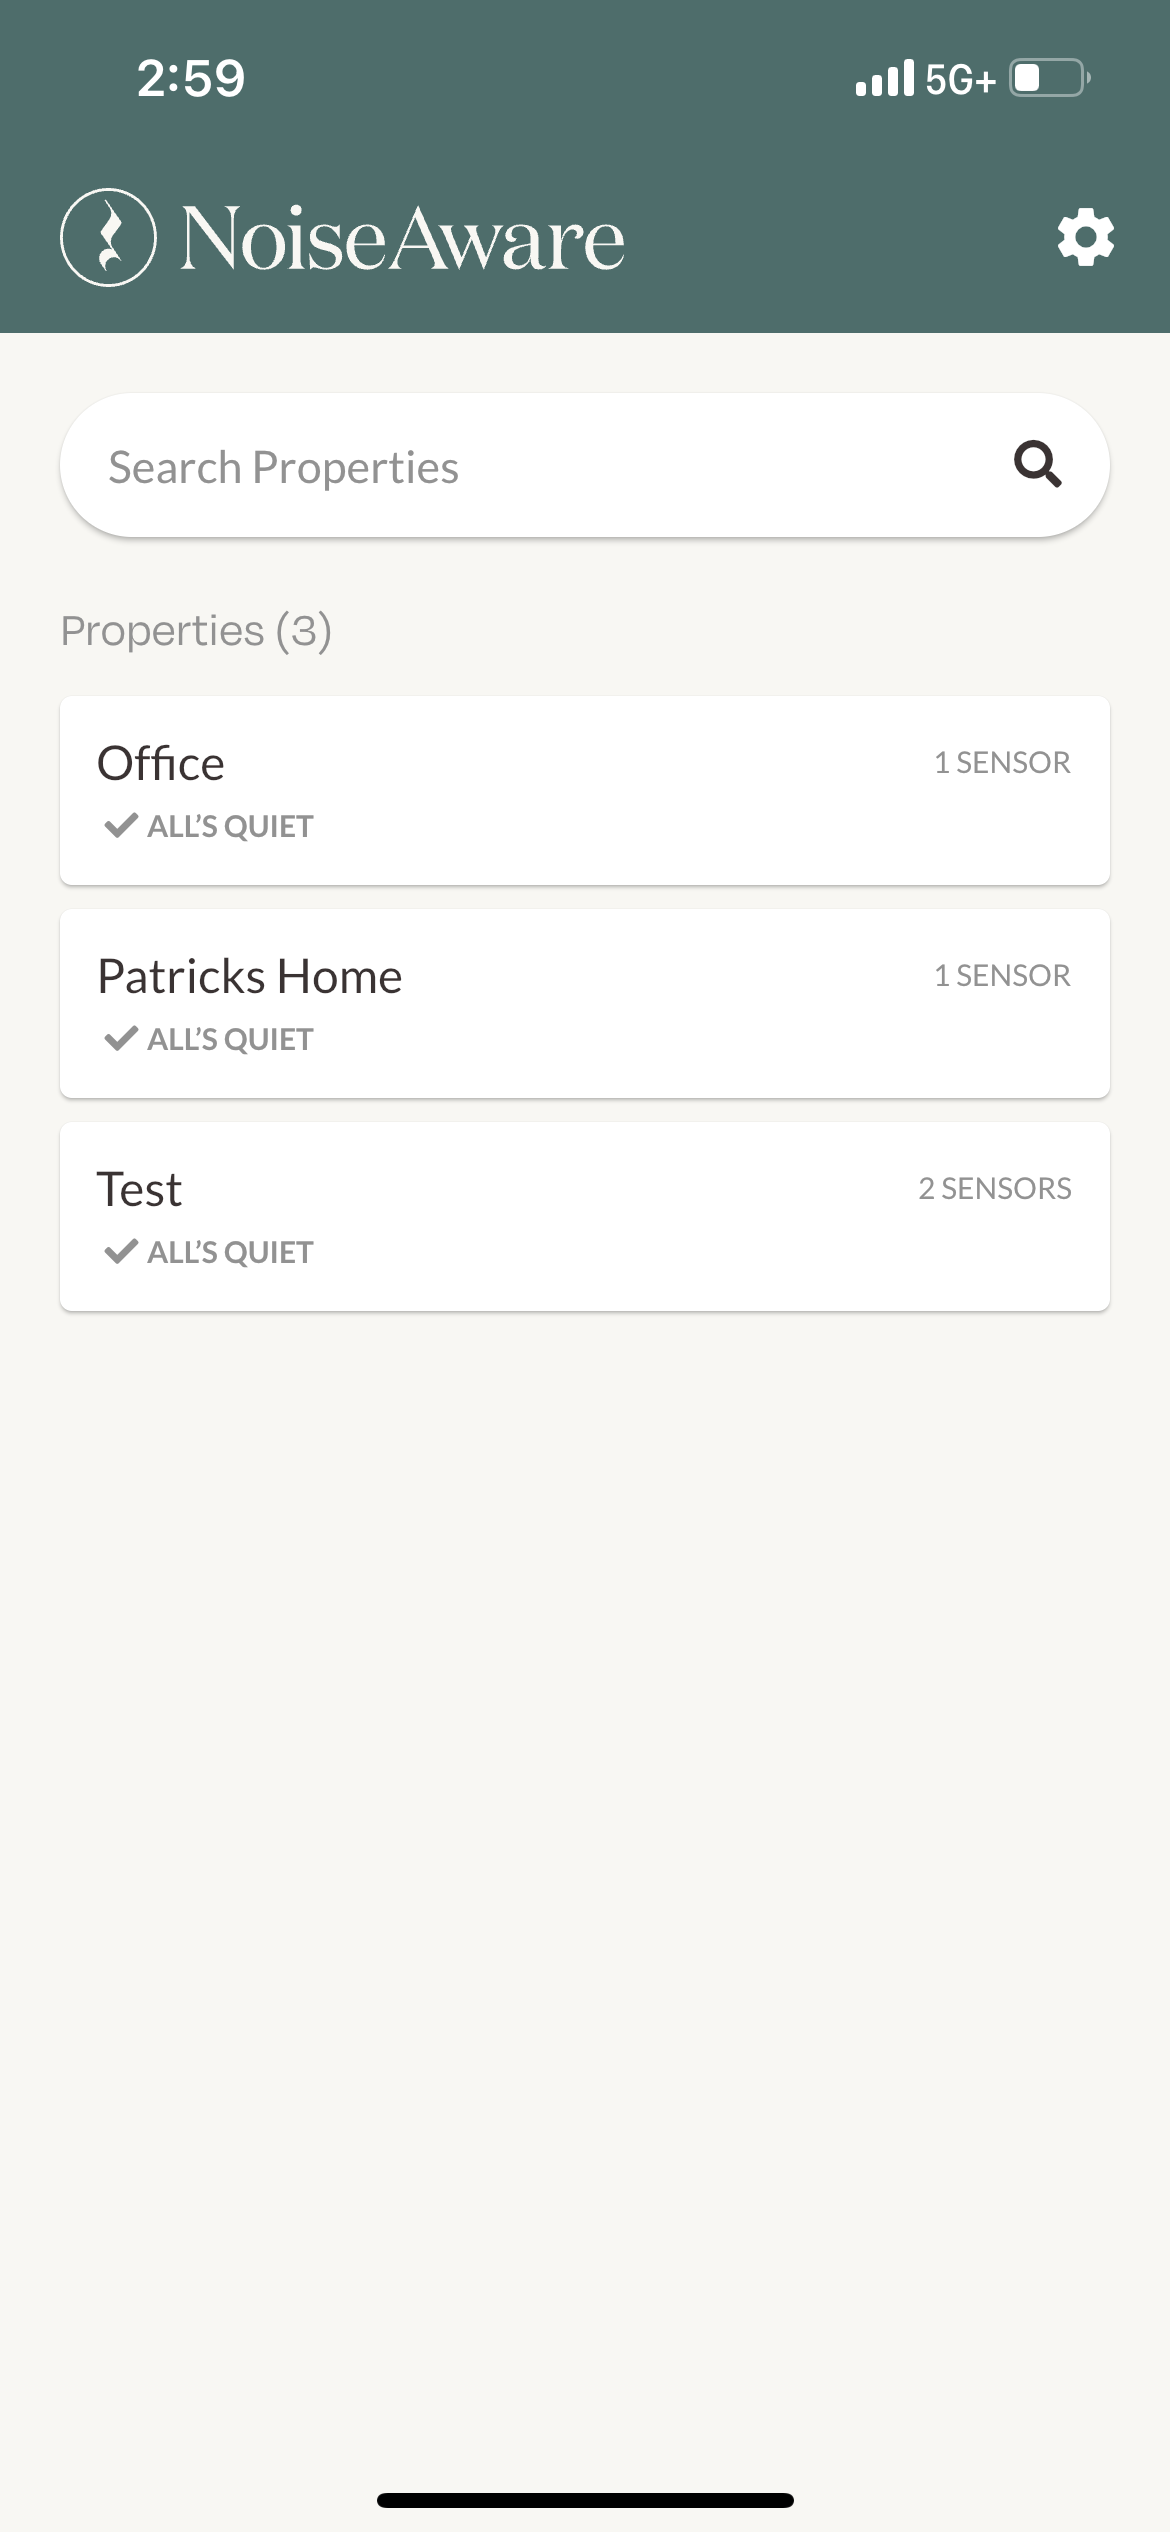
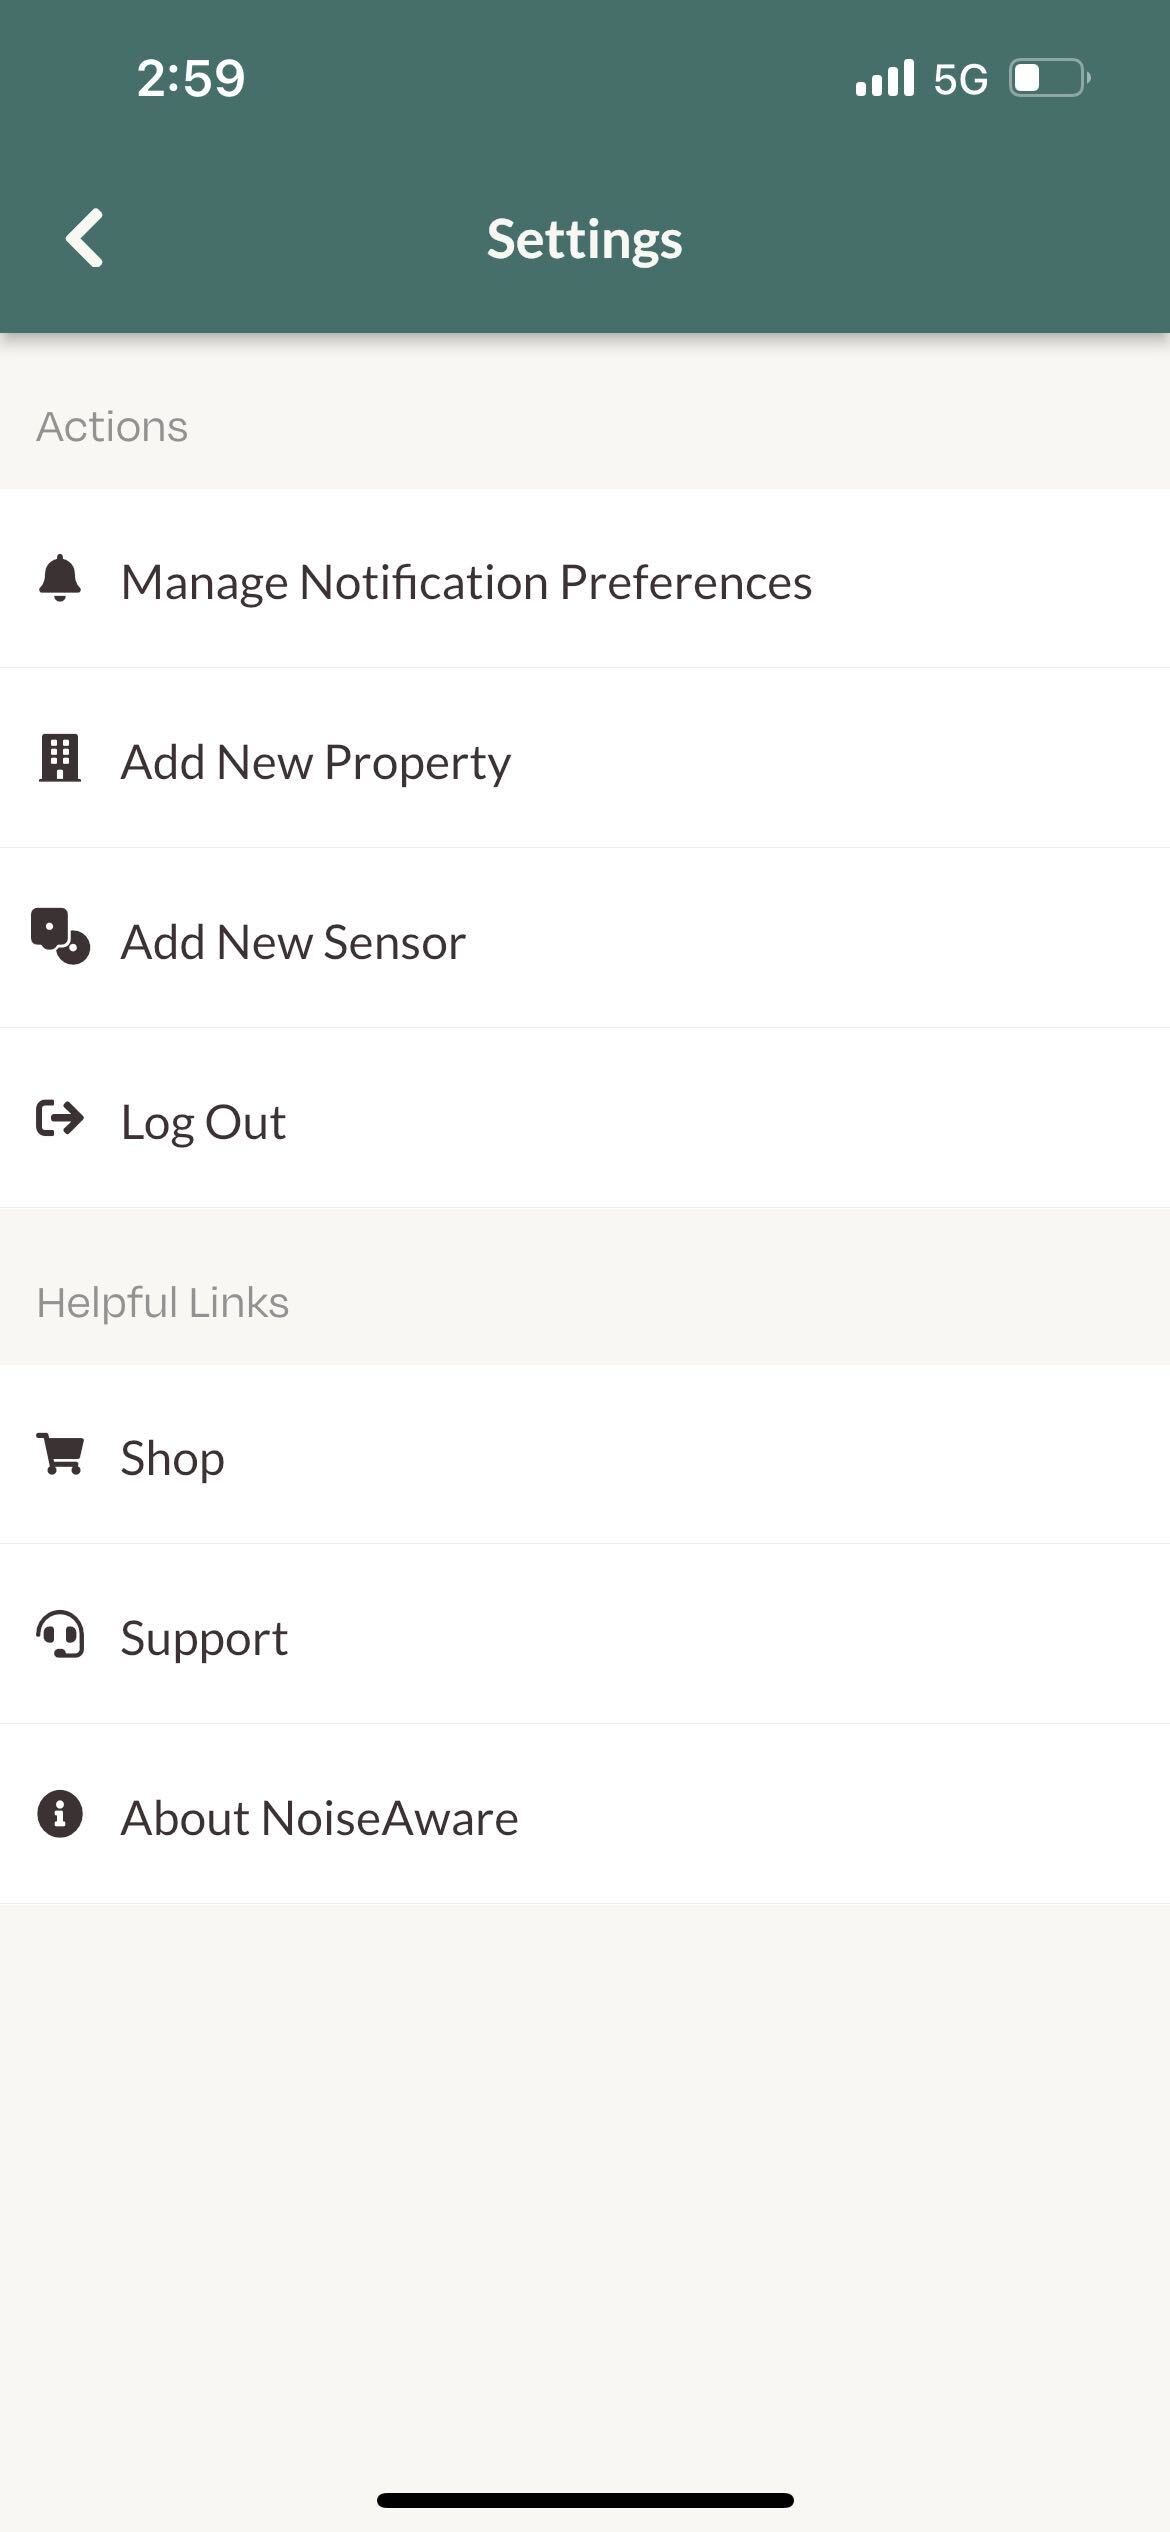
Select Add New Sensor
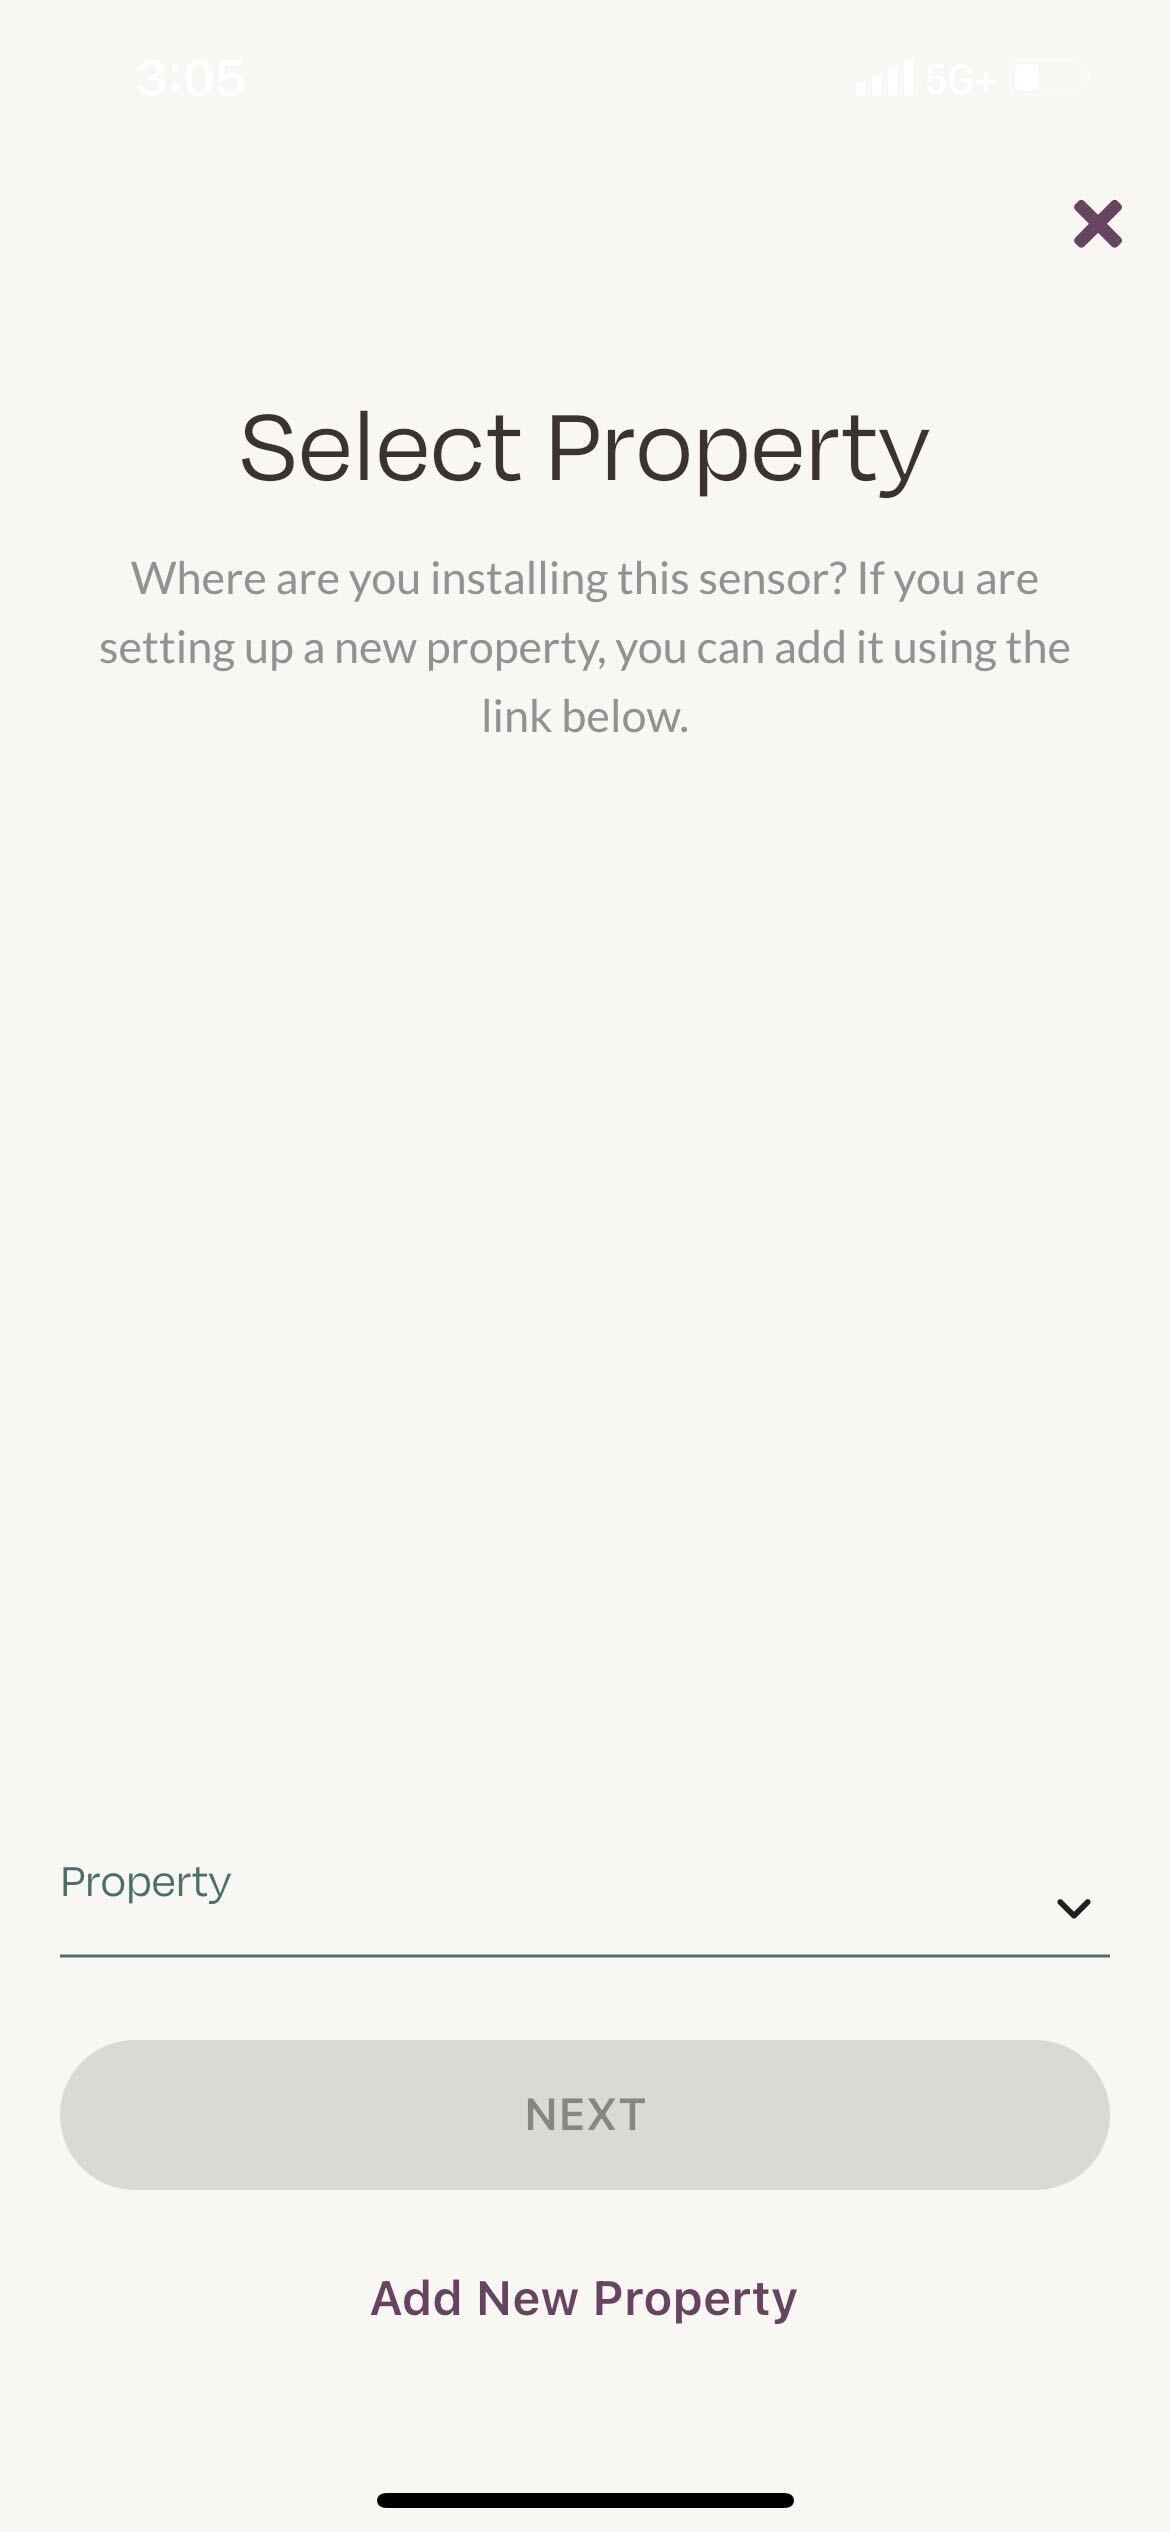
Select Property
*If you have not yet added a property, you will not be able to move past this step. Press "Add New Property" at the bottom of the screen
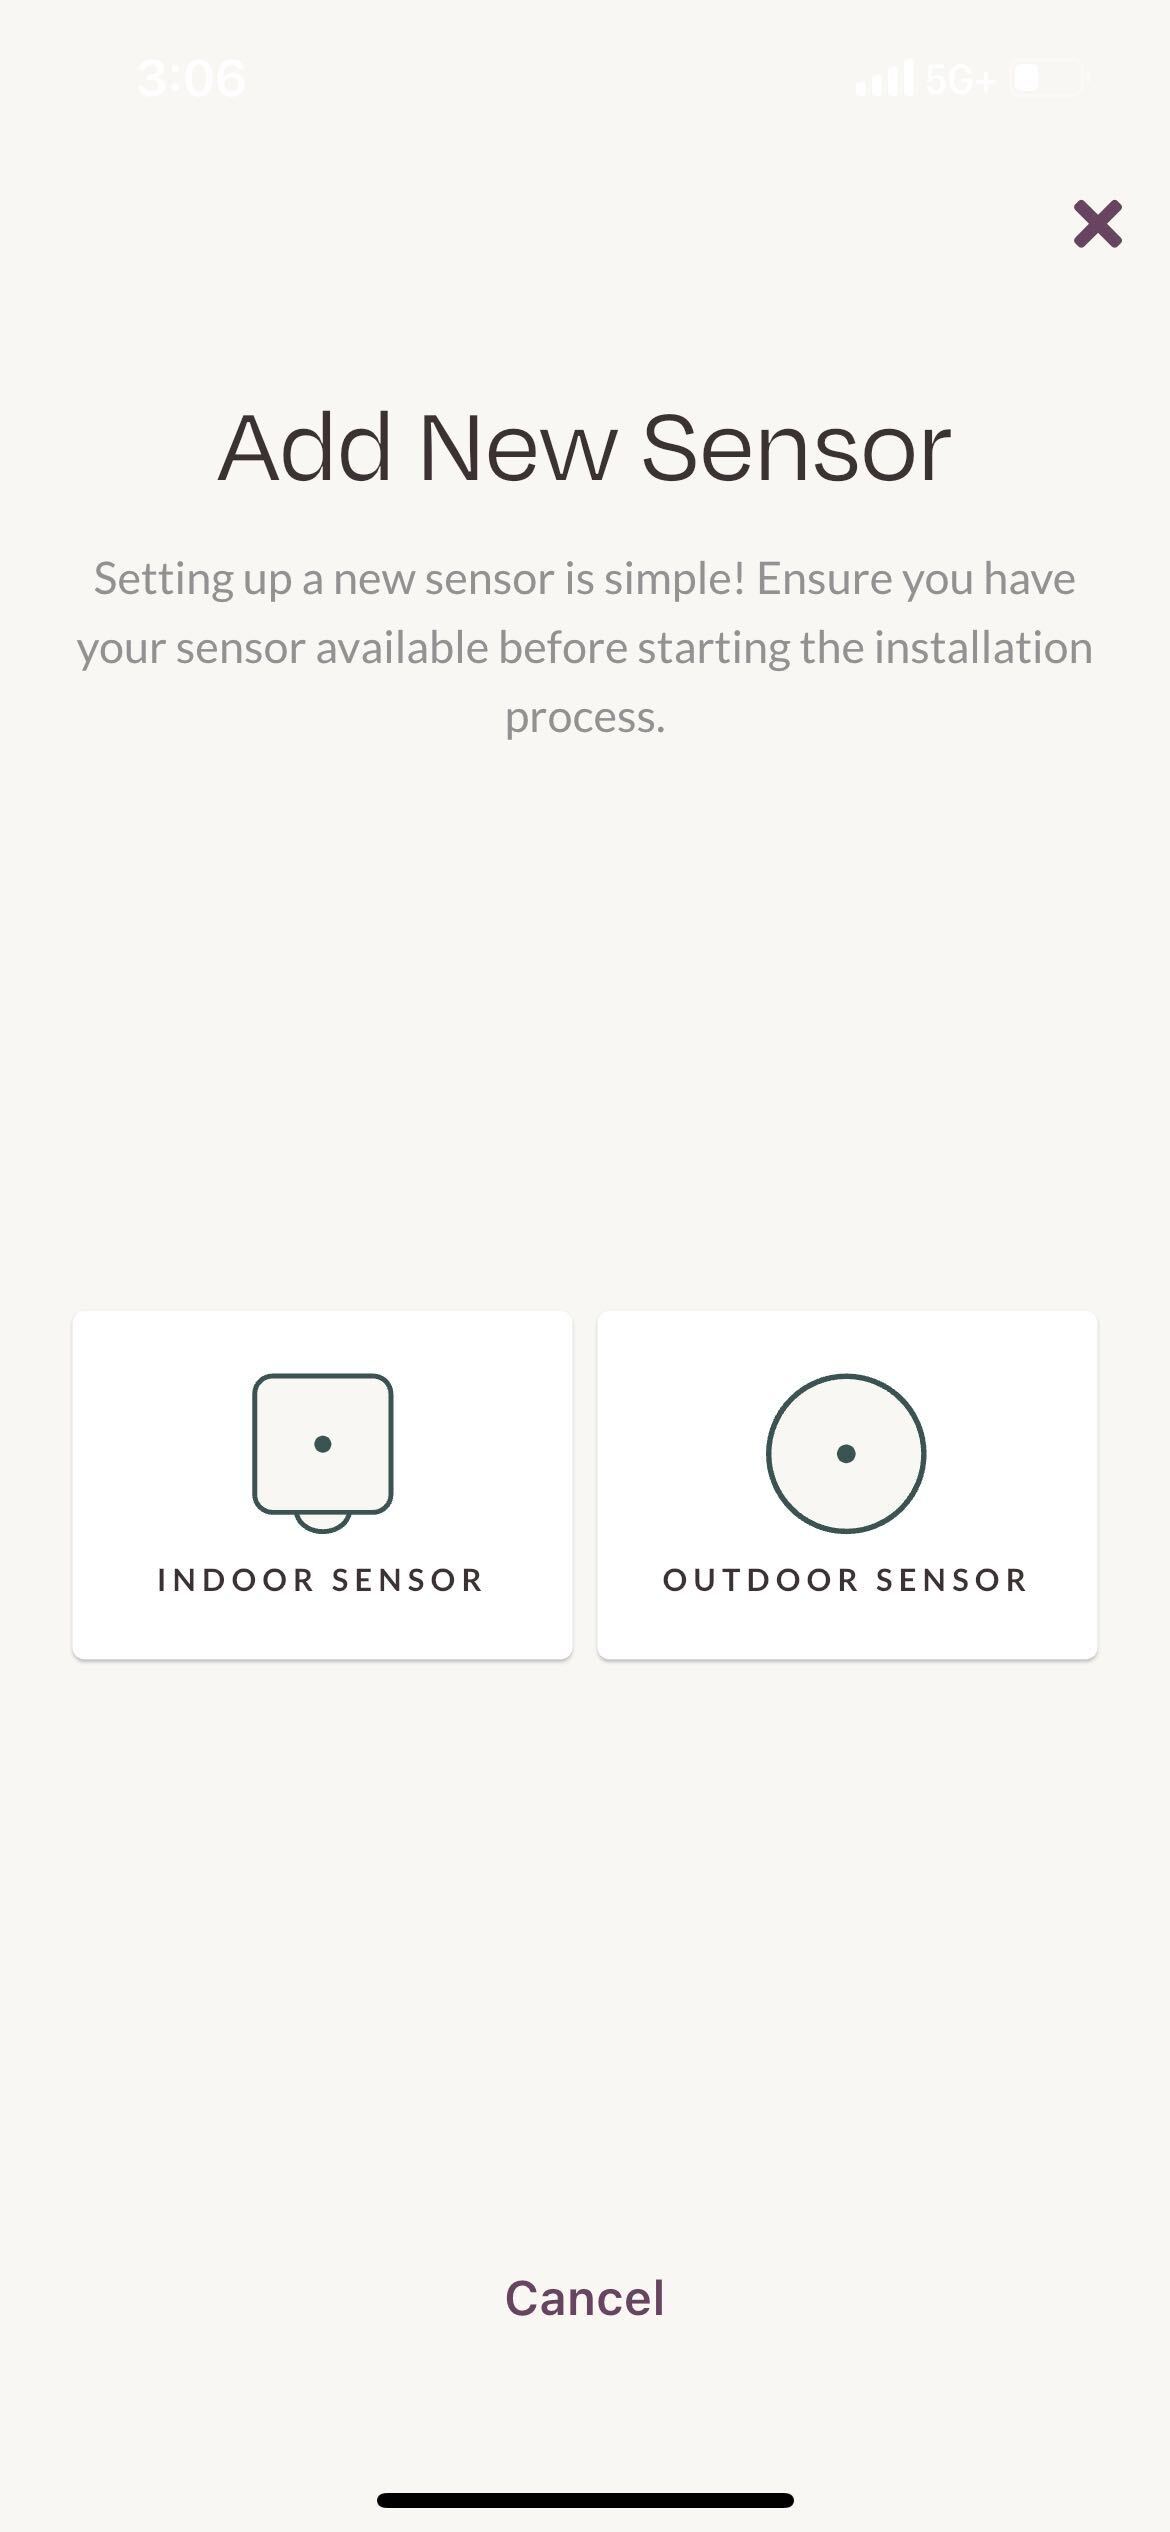
Select Indoor sensor
Plug in your sensor
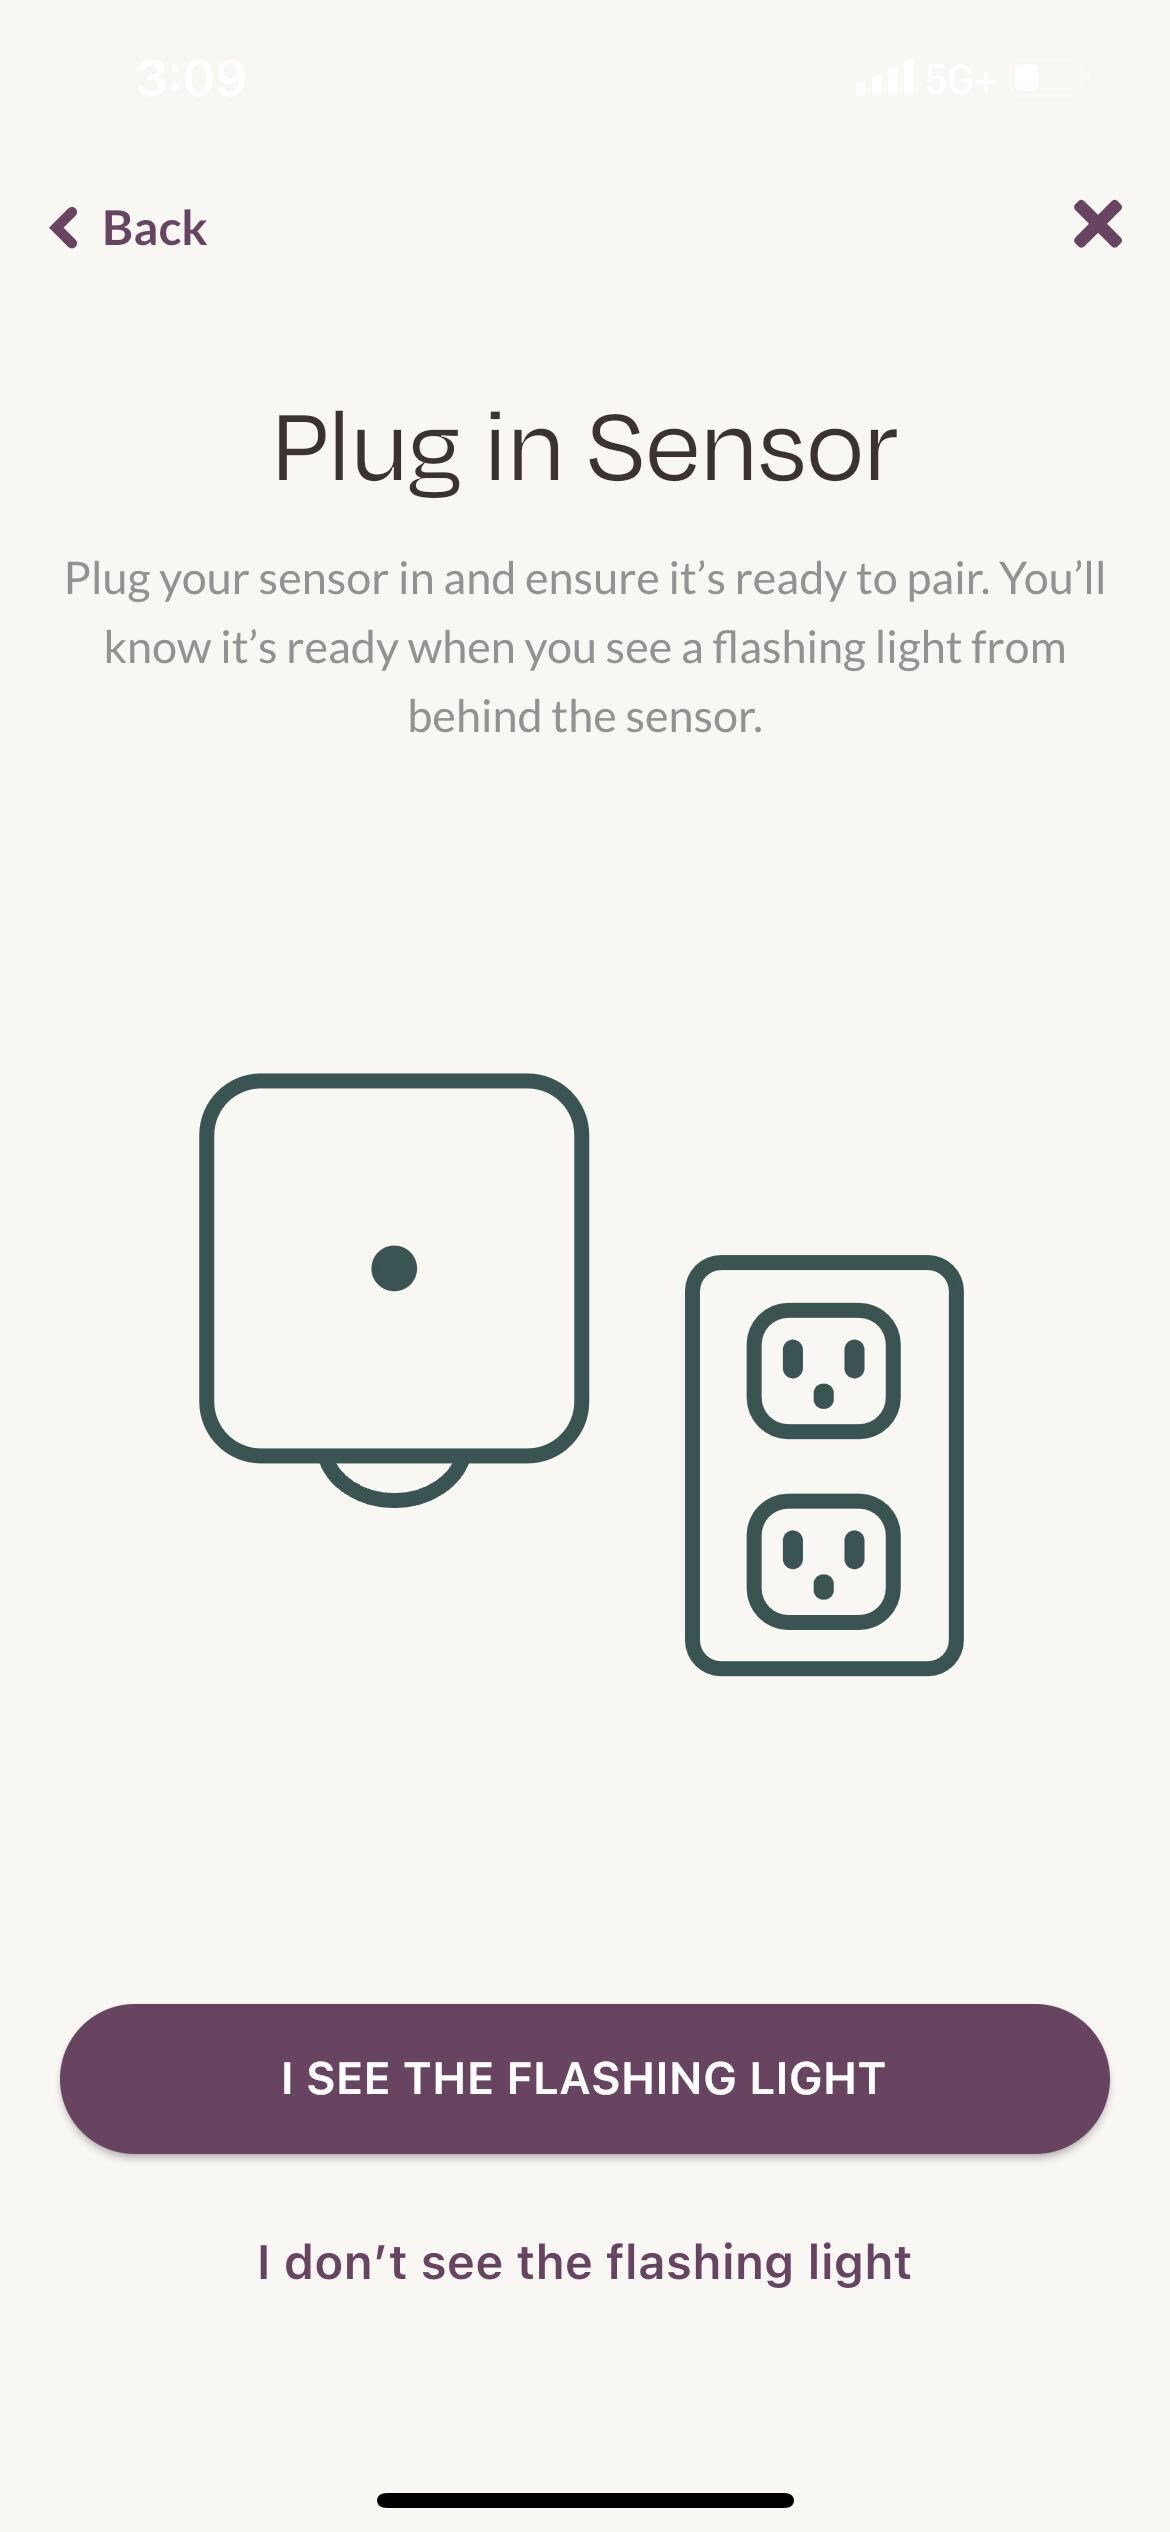
The next step is to plug in your indoor sensor in an area that is in a central location and out in the open. The sensor should be installed within 75 feet of your router, and should also have a clear line of sight to the router.
You want to avoid installing next to the following:
- Behind a couch
- Fireplaces
- Under/Behind a TV
- In the kitchen/bathroom
- Around plumbing/large metal objects
- Appliances such as a A/C unit or dishwasher
If you would like to read more detailed information regarding installation location, please refer to Selecting your Indoor Sensor Location
Once you have chosen your outlet, remove the top or middle screw so that you can screw your sensor directly to the face plate of the outlet.
Make sure the light on the back of the sensor is slowly pulsing.
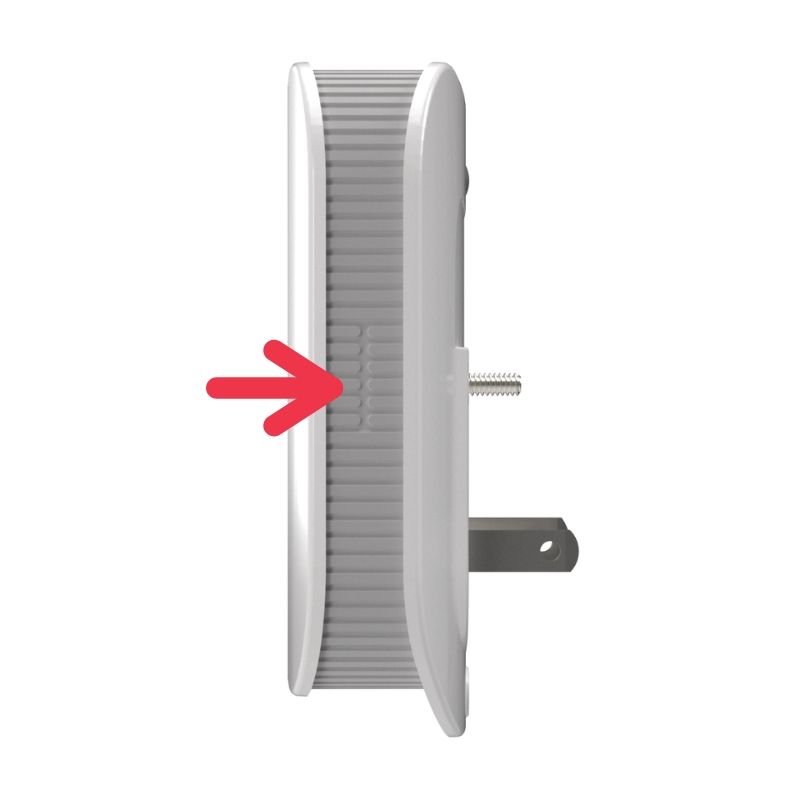
*NOTE* If there is no light, you will need to perform a hard reset of the sensor. Locate the reset button (see picture below) on the right, side panel of the sensor and hold the button down. The light will flash at a slow pace and then will quickly flash. When you see this quick flash, you can let go. The light will flash rapidly for a few seconds and should return to a slow pulse. The sensor is now in setup mode.
Now that your sensor is secured to the outlet and has a slowing flashing light, you can select FIND SENSOR.
Please make sure your Bluetooth is toggled on on your phone. If using an Android, please make sure your Location Services are on. It is best to disconnect from other Bluetooth devices during setup.
Once your sensor is detected, you will see a list of Wifi networks available to connect to. NoiseAware will only connect to a 2.4g Wifi network. If you do have any firewalls, splash pages or advanced security, make sure the sensor's MAC address is whitelisted before beginning set up.
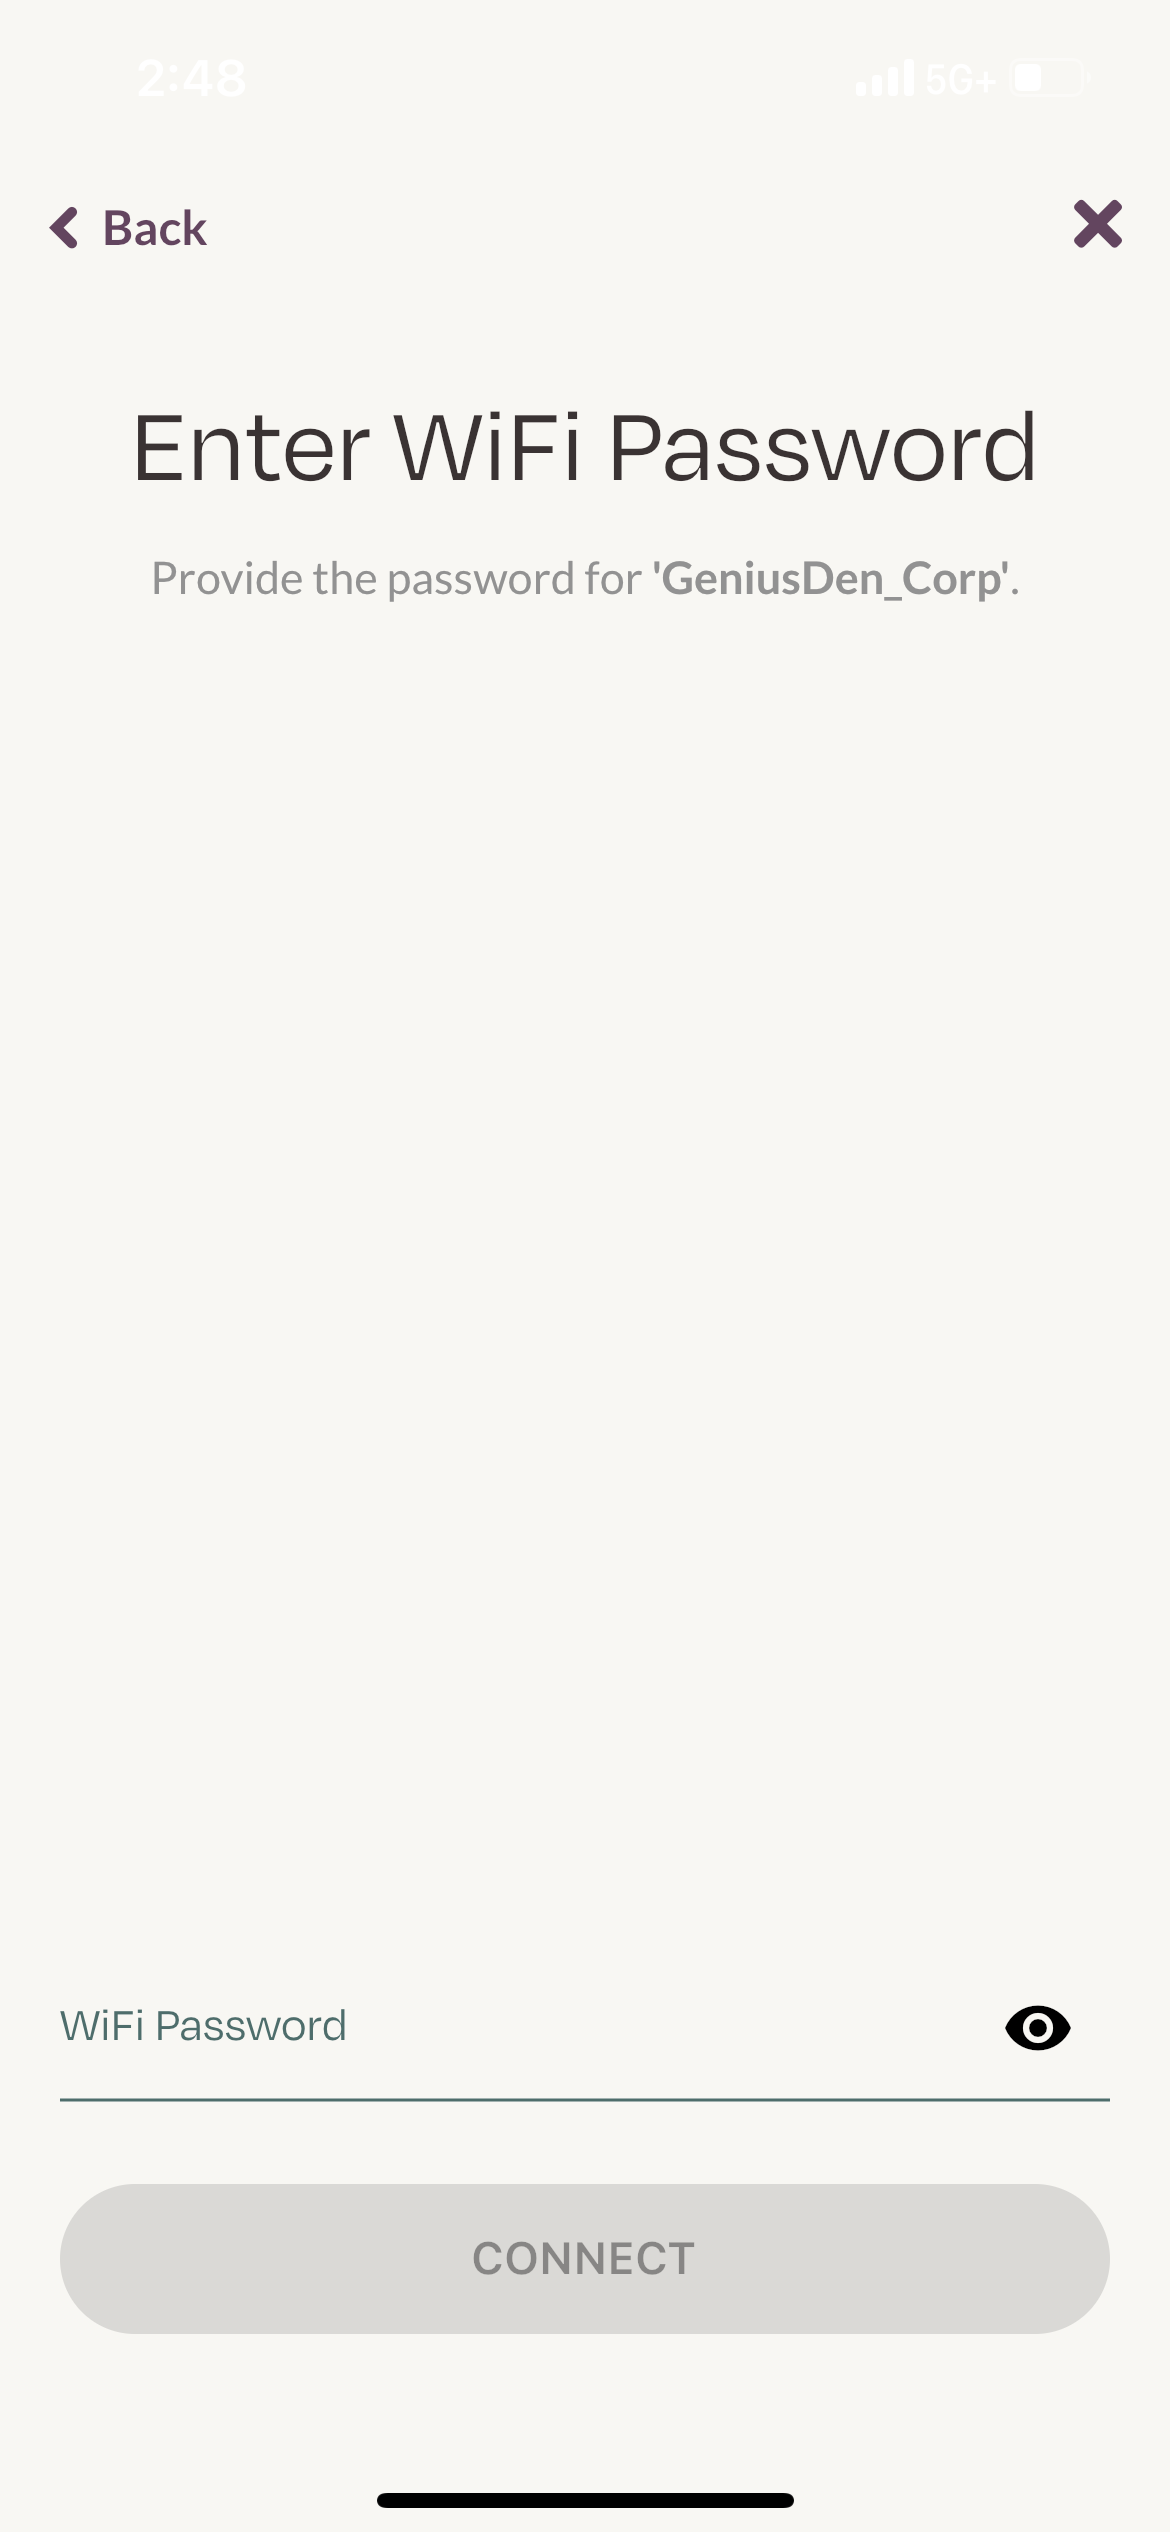
Enter your password and press connect. The password is case and space sensitive. Make sure you are connecting to the 2.4g wifi network. Make sure that there are no advanced security settings that may prevent the sensor from connecting successfully, if there are you can whitelist the sensor to make sure it gets online
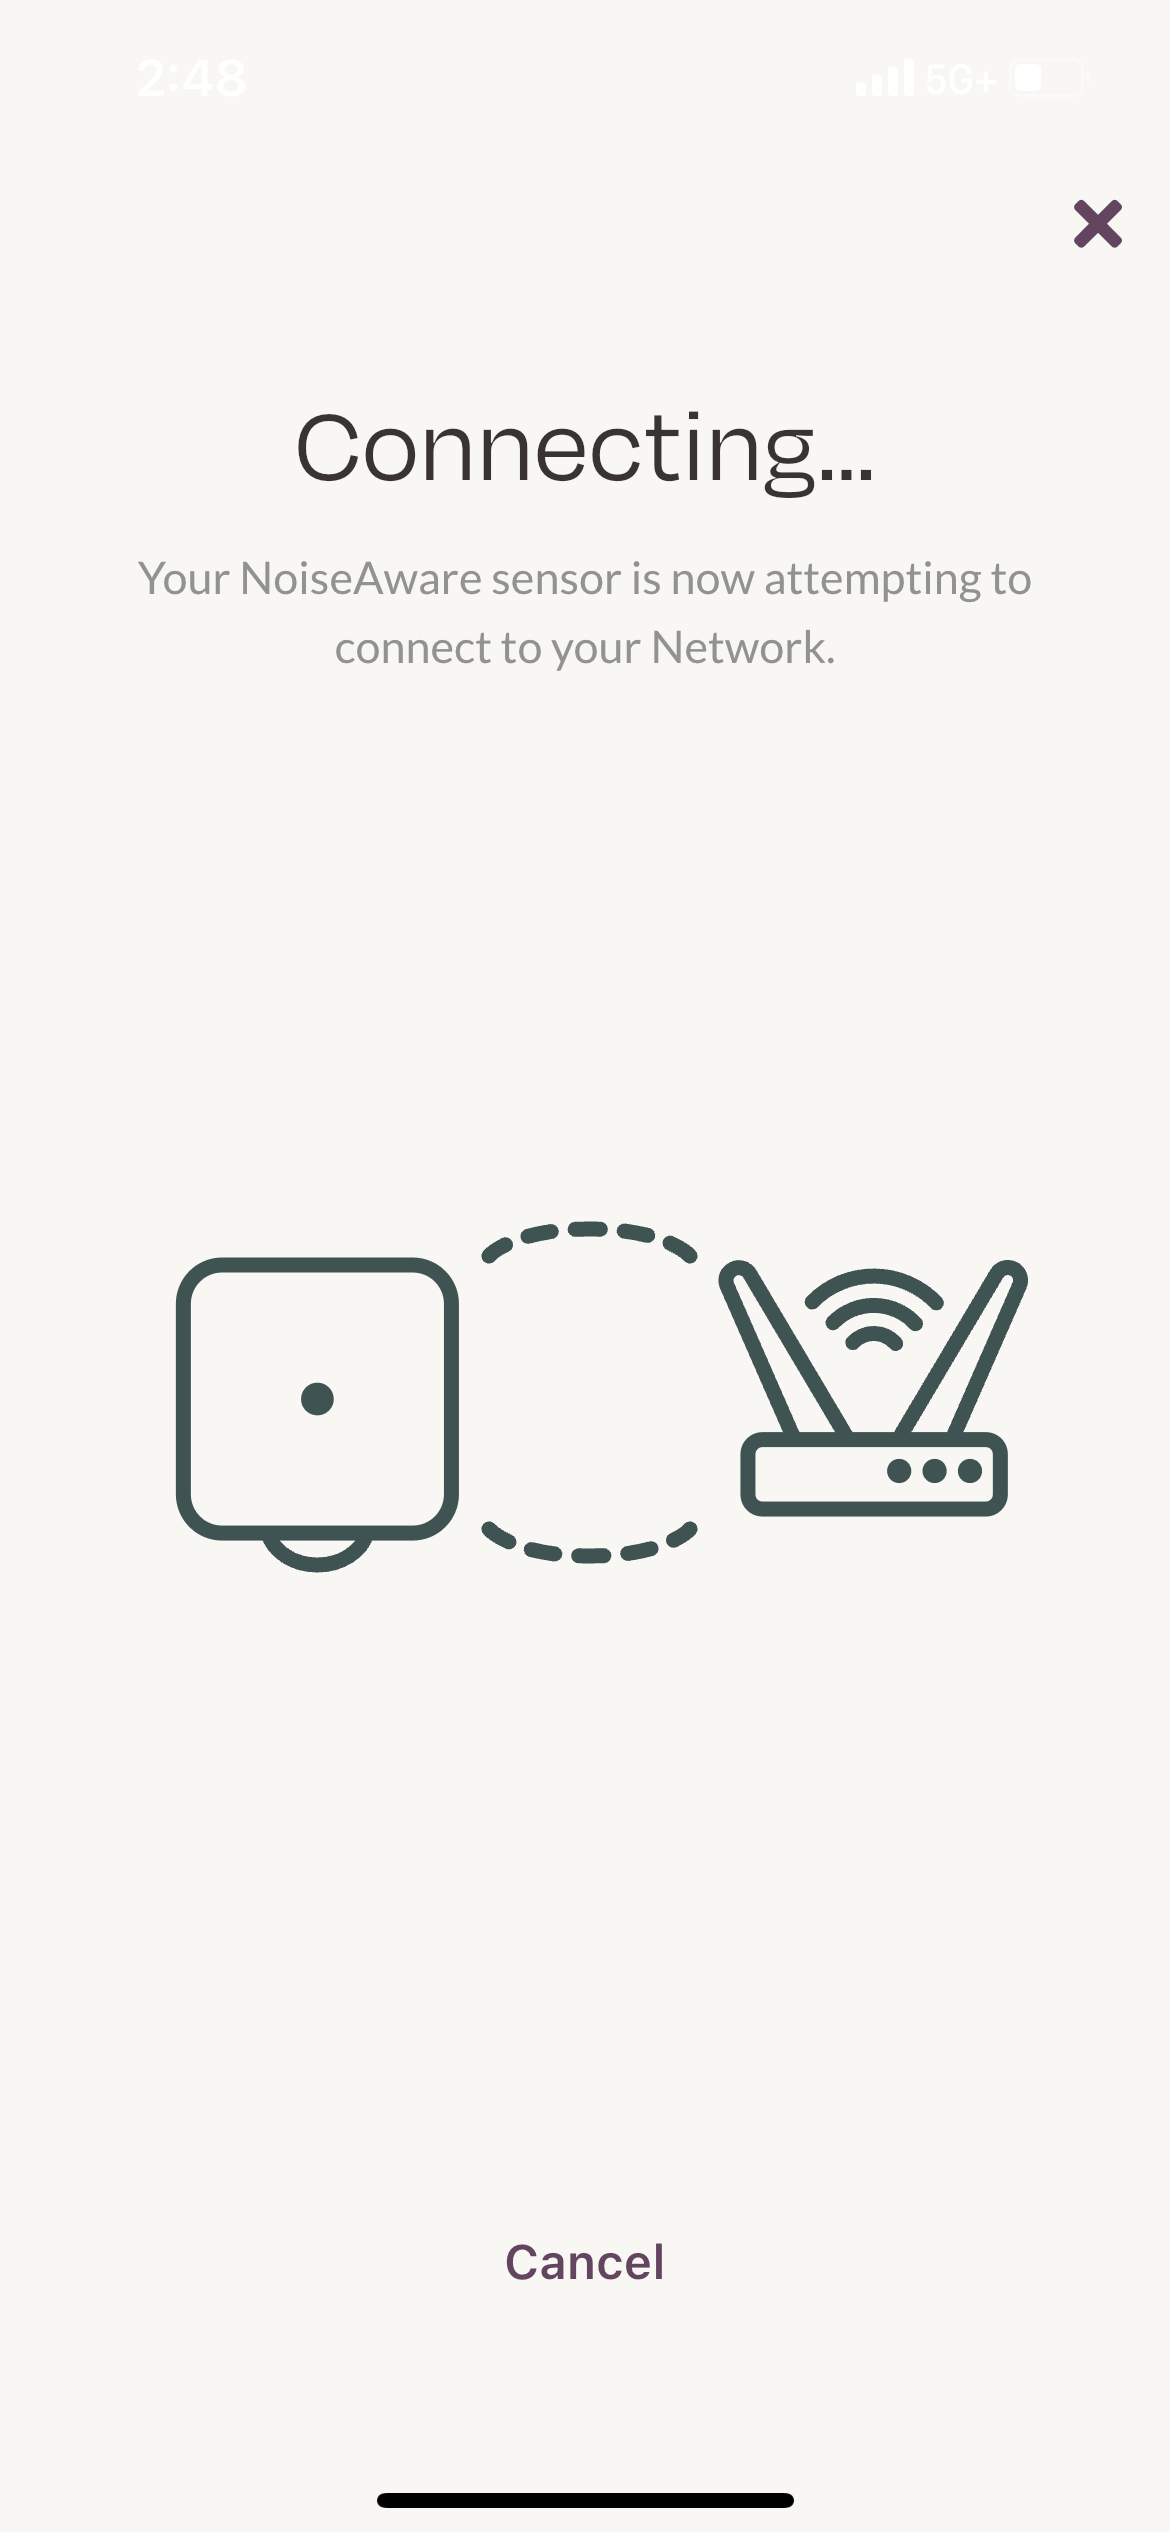
Be patient while your sensor connects to the network
Please ensure you are using your WiFi password for your 2.4gHz WiFi. Other networks may have a different password associated with it.
Once the sensor is online, make sure that it is screwed in to the outlet to prevent tampering and then press Next .
From here, you will be able to name the sensor. The name of the sensor will appear in your notifications when you receive alerts from this sensor.
Take a picture of your indoor sensor from roughly 15 feet away to portray the environment the sensor is in. This picture will be used by our Support Team if you were to call in with questions about your indoor sensor.
You have now successfully set up your Indoor Sensor.
